Mikrotik

The CrowdSec Mikrotik integration connects CrowdSec's hosted blocklist endpoint to your Mikrotik router.
Because Mikrotik does not have native external IP list ingestion, the integration uses a script that fetches the blocklist from CrowdSec's API and imports it into the Mikrotik firewall address list, scheduled to run automatically.
Create a Mikrotik Integration Endpoint
- 1- Create an integration
- 2- Remediation Component
- 3- Save your credentials
- 4- Subscribe to blocklists
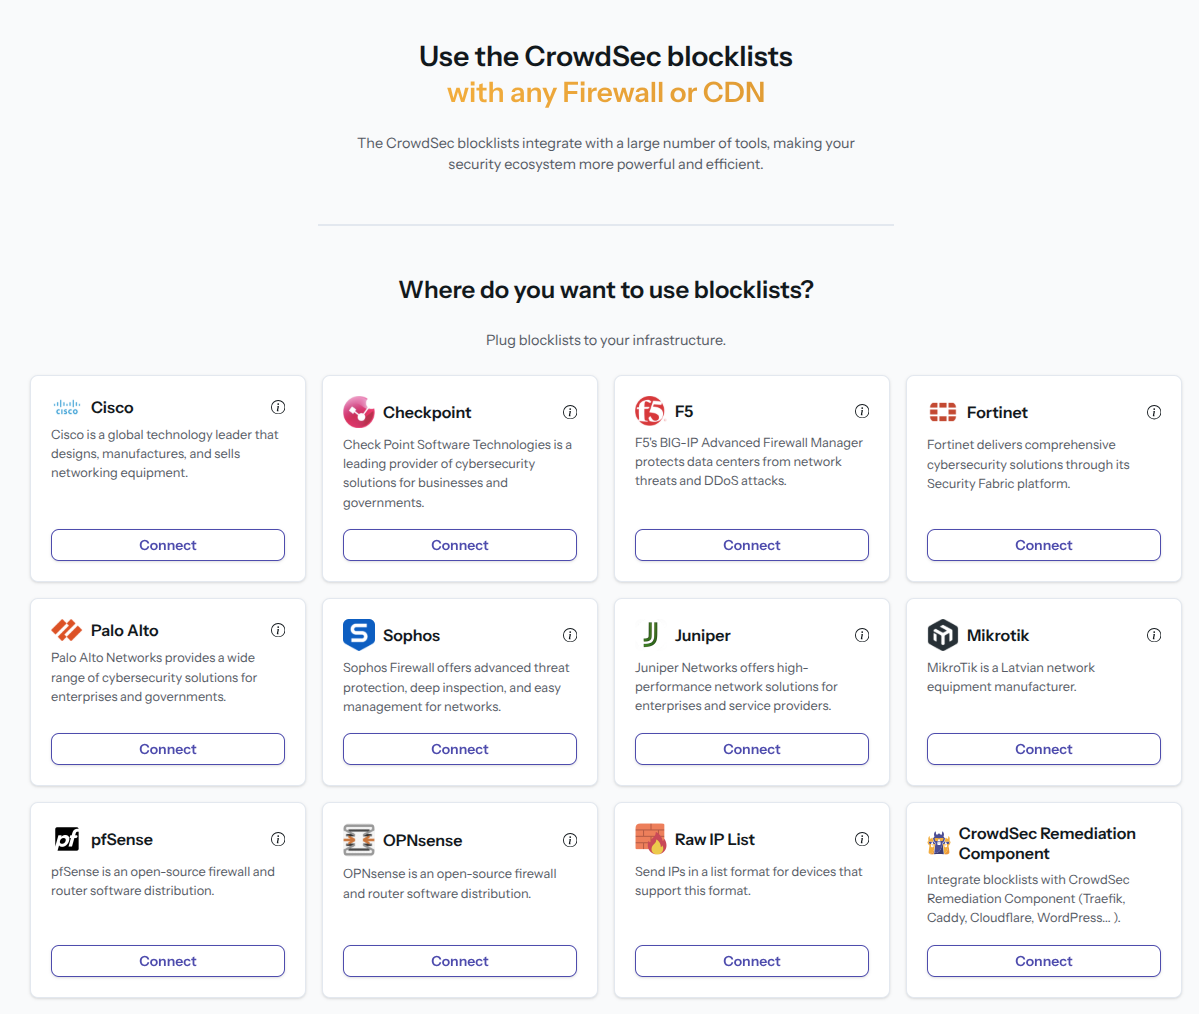
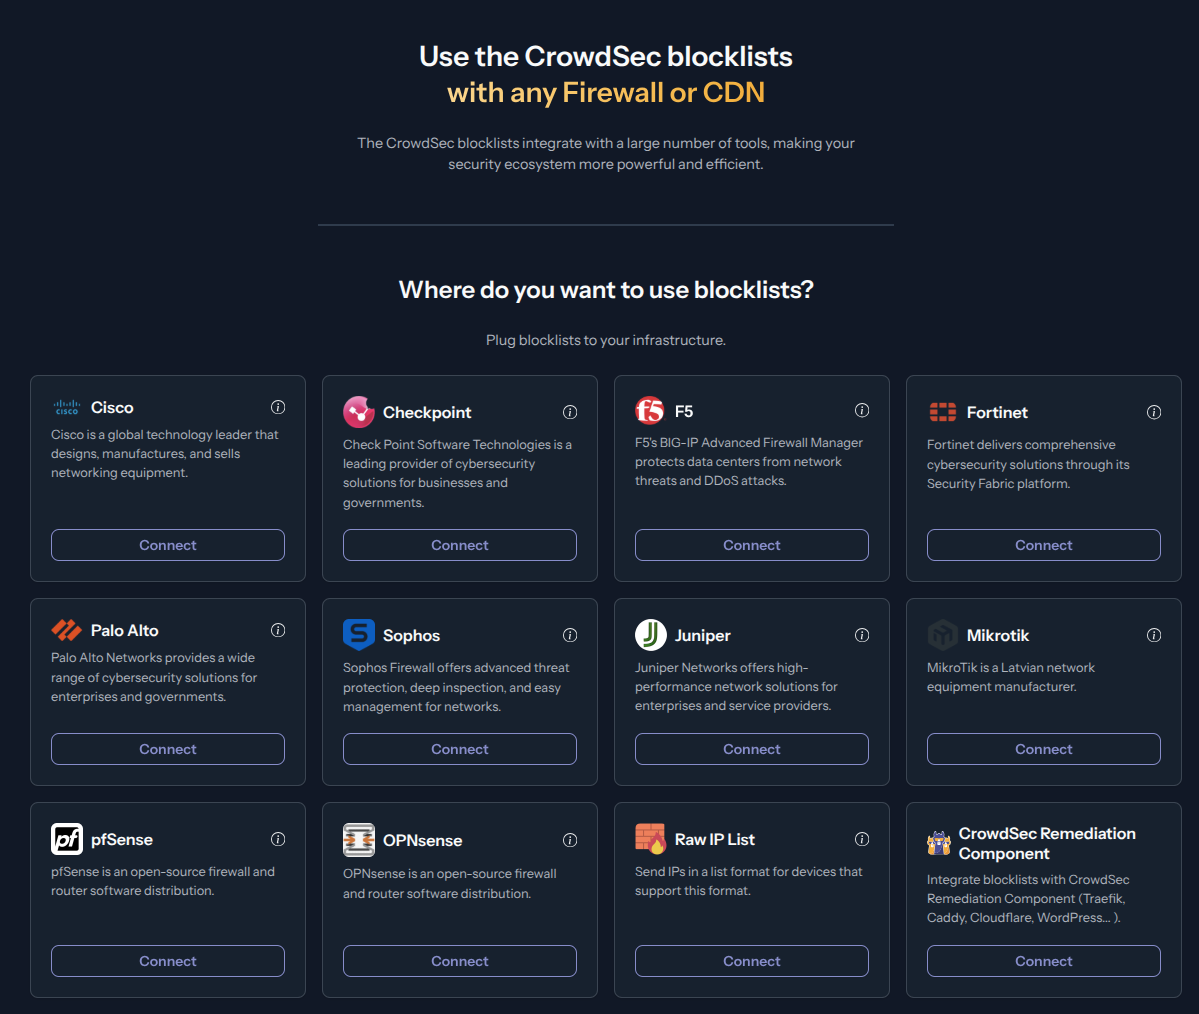
Step 1 — Create an integration in the CrowdSec Console
In your CrowdSec Console account, navigate to the Blocklist tab in the top menu bar, then select the Integrations sub-menu. Choose the integration type you need, then click Connect.
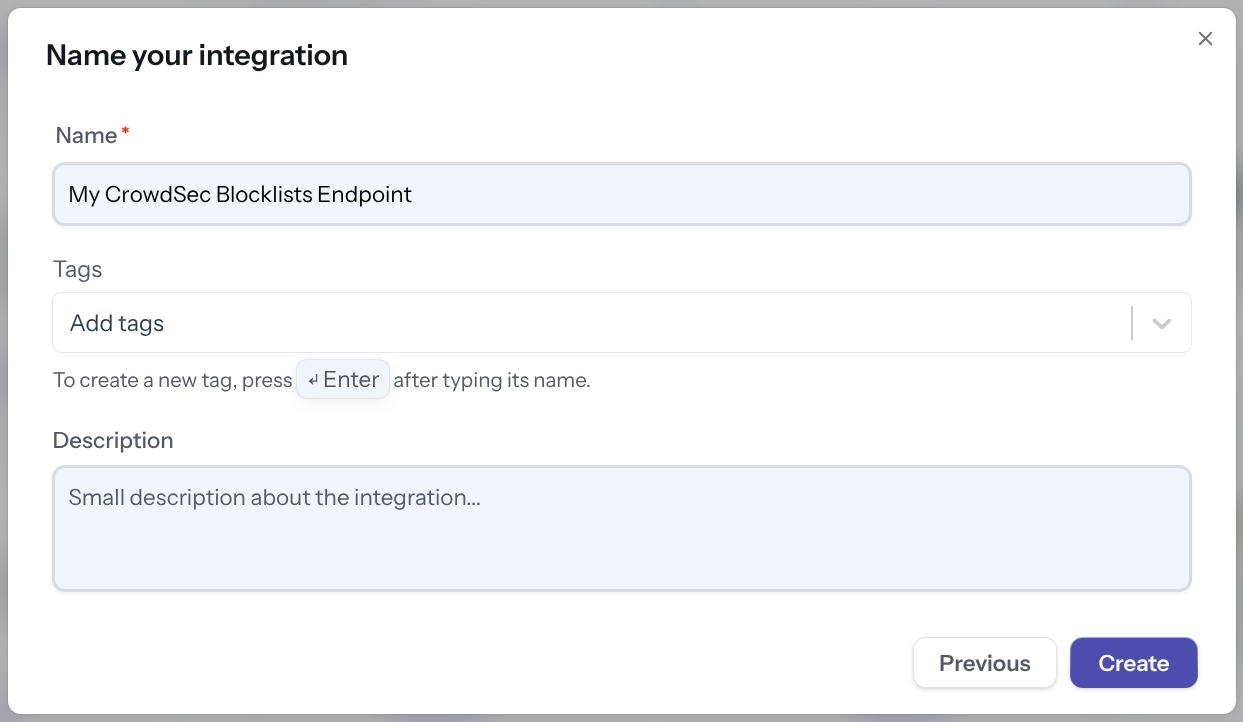
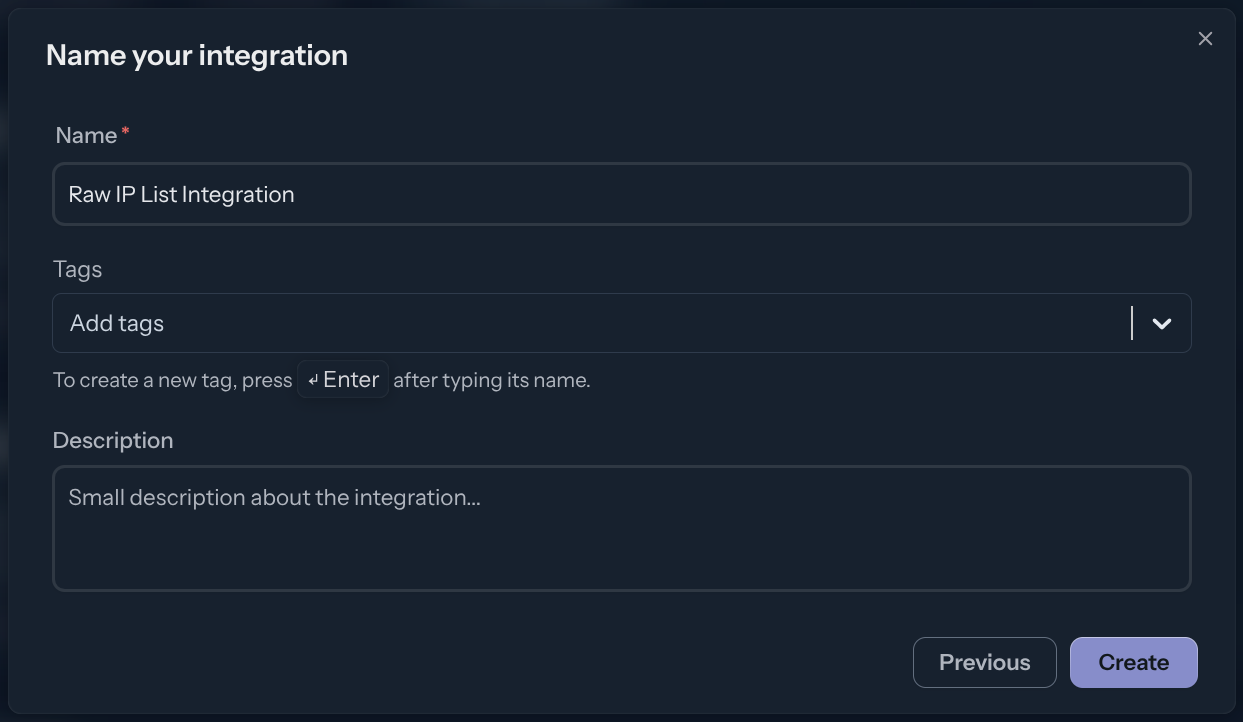
Step 2 — Fill in integration details
Name the integration (must be unique to your account) Optionally, add a description and tags to help you identify it later. Then click Create.
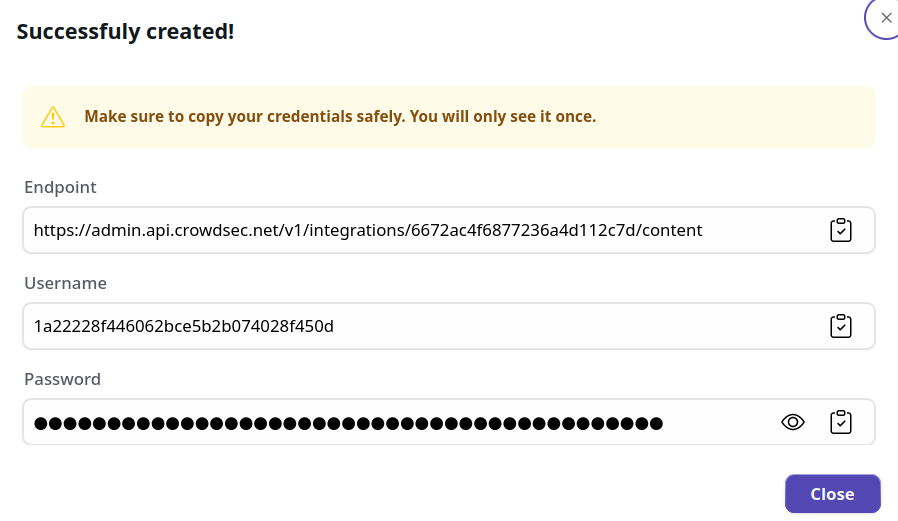
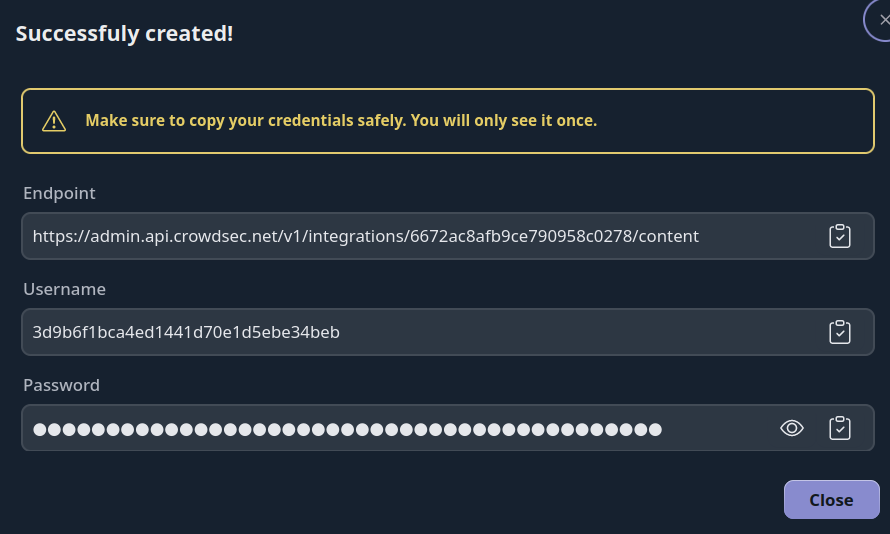
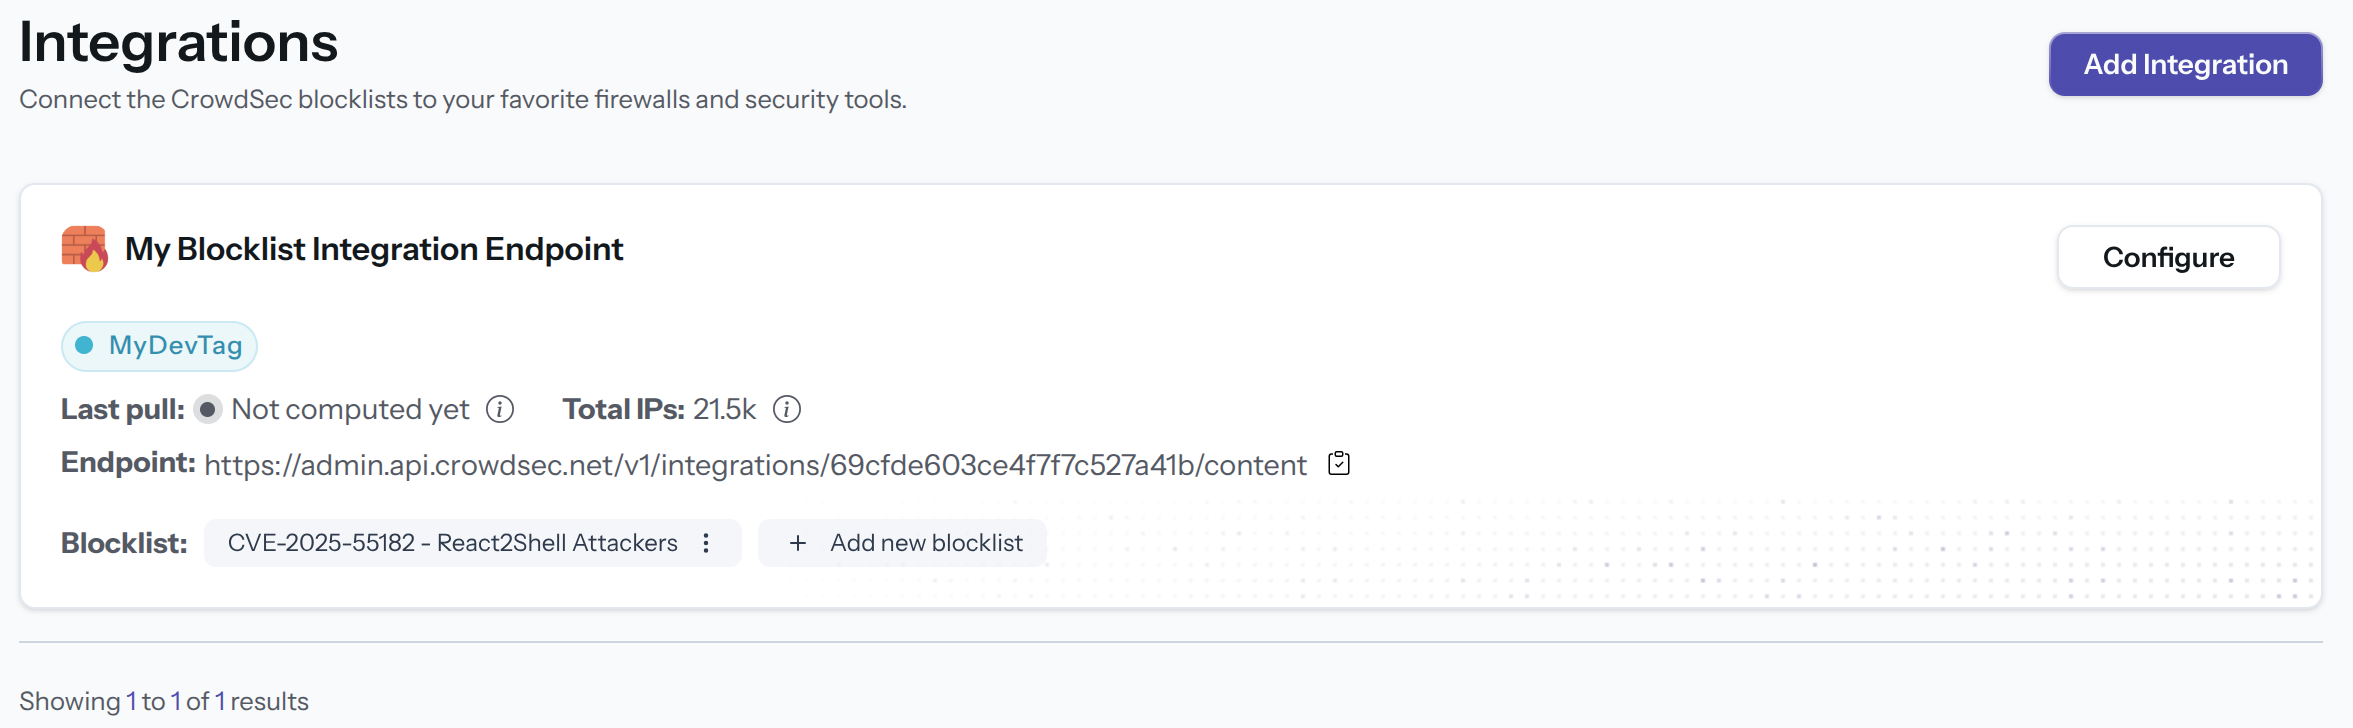
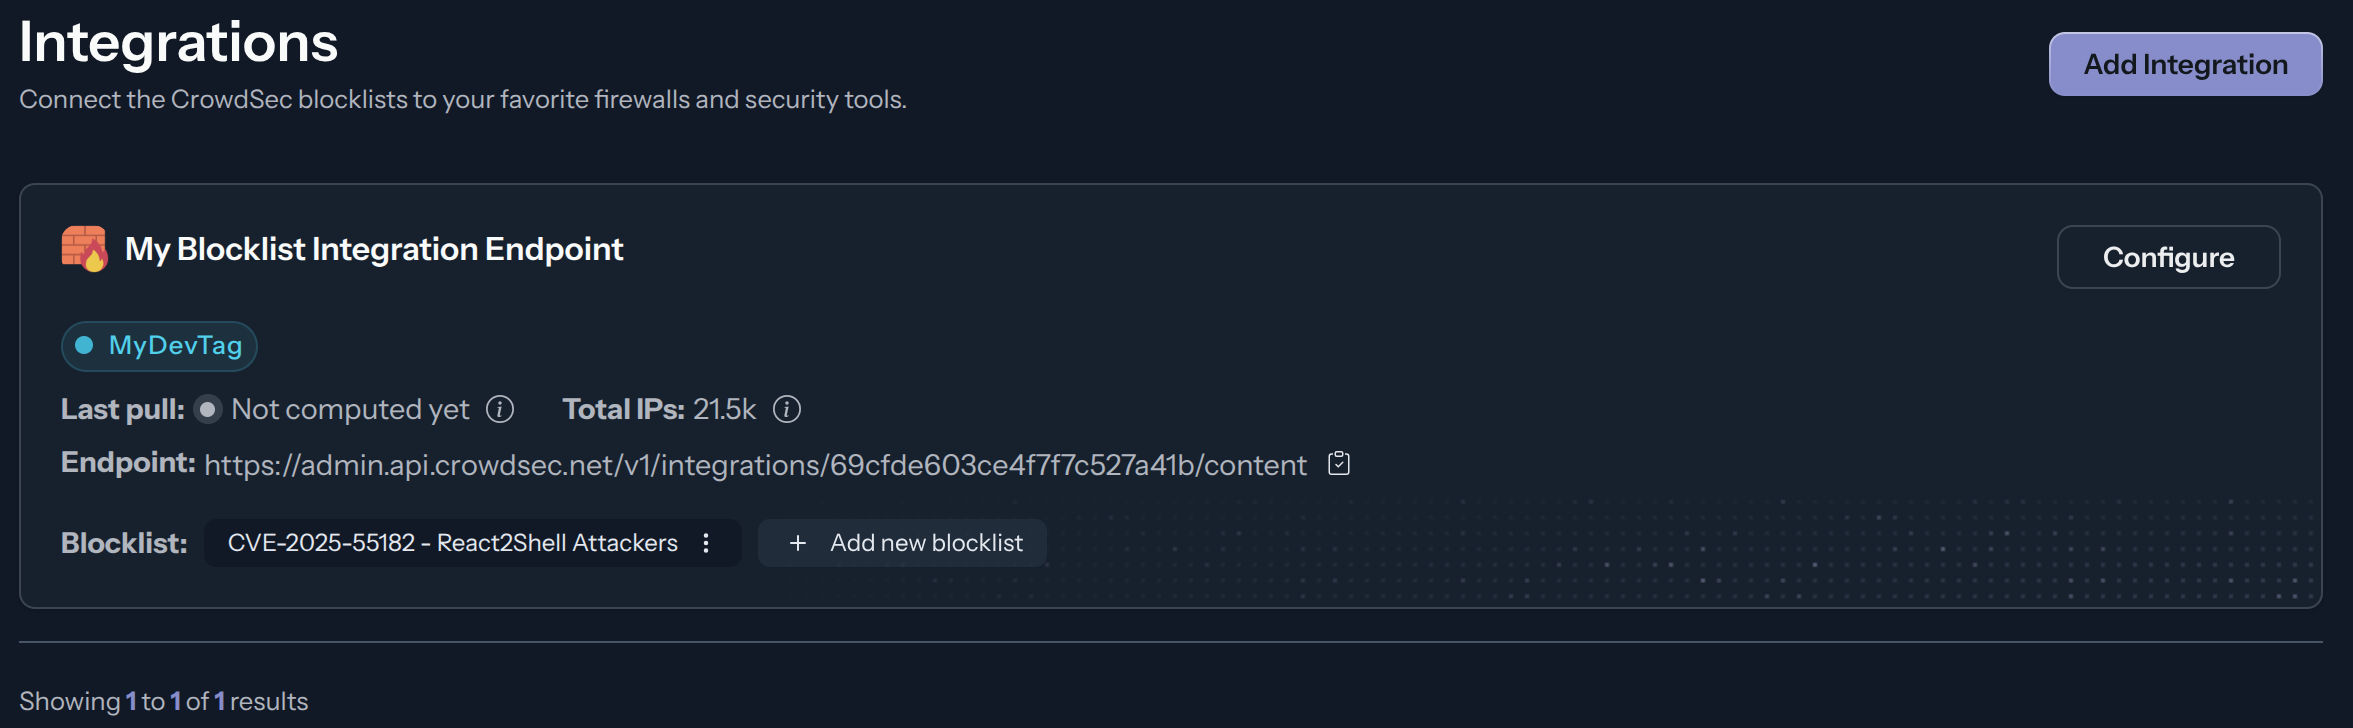
Step 3 — Copy your credentials
With this HTTPS endpoint and Basic Auth credentials, you can verify the endpoint with any HTTP client, for example:
curl -u 'usr:pass' https://admin.api.crowdsec.net/v1/integrations/$integID/content
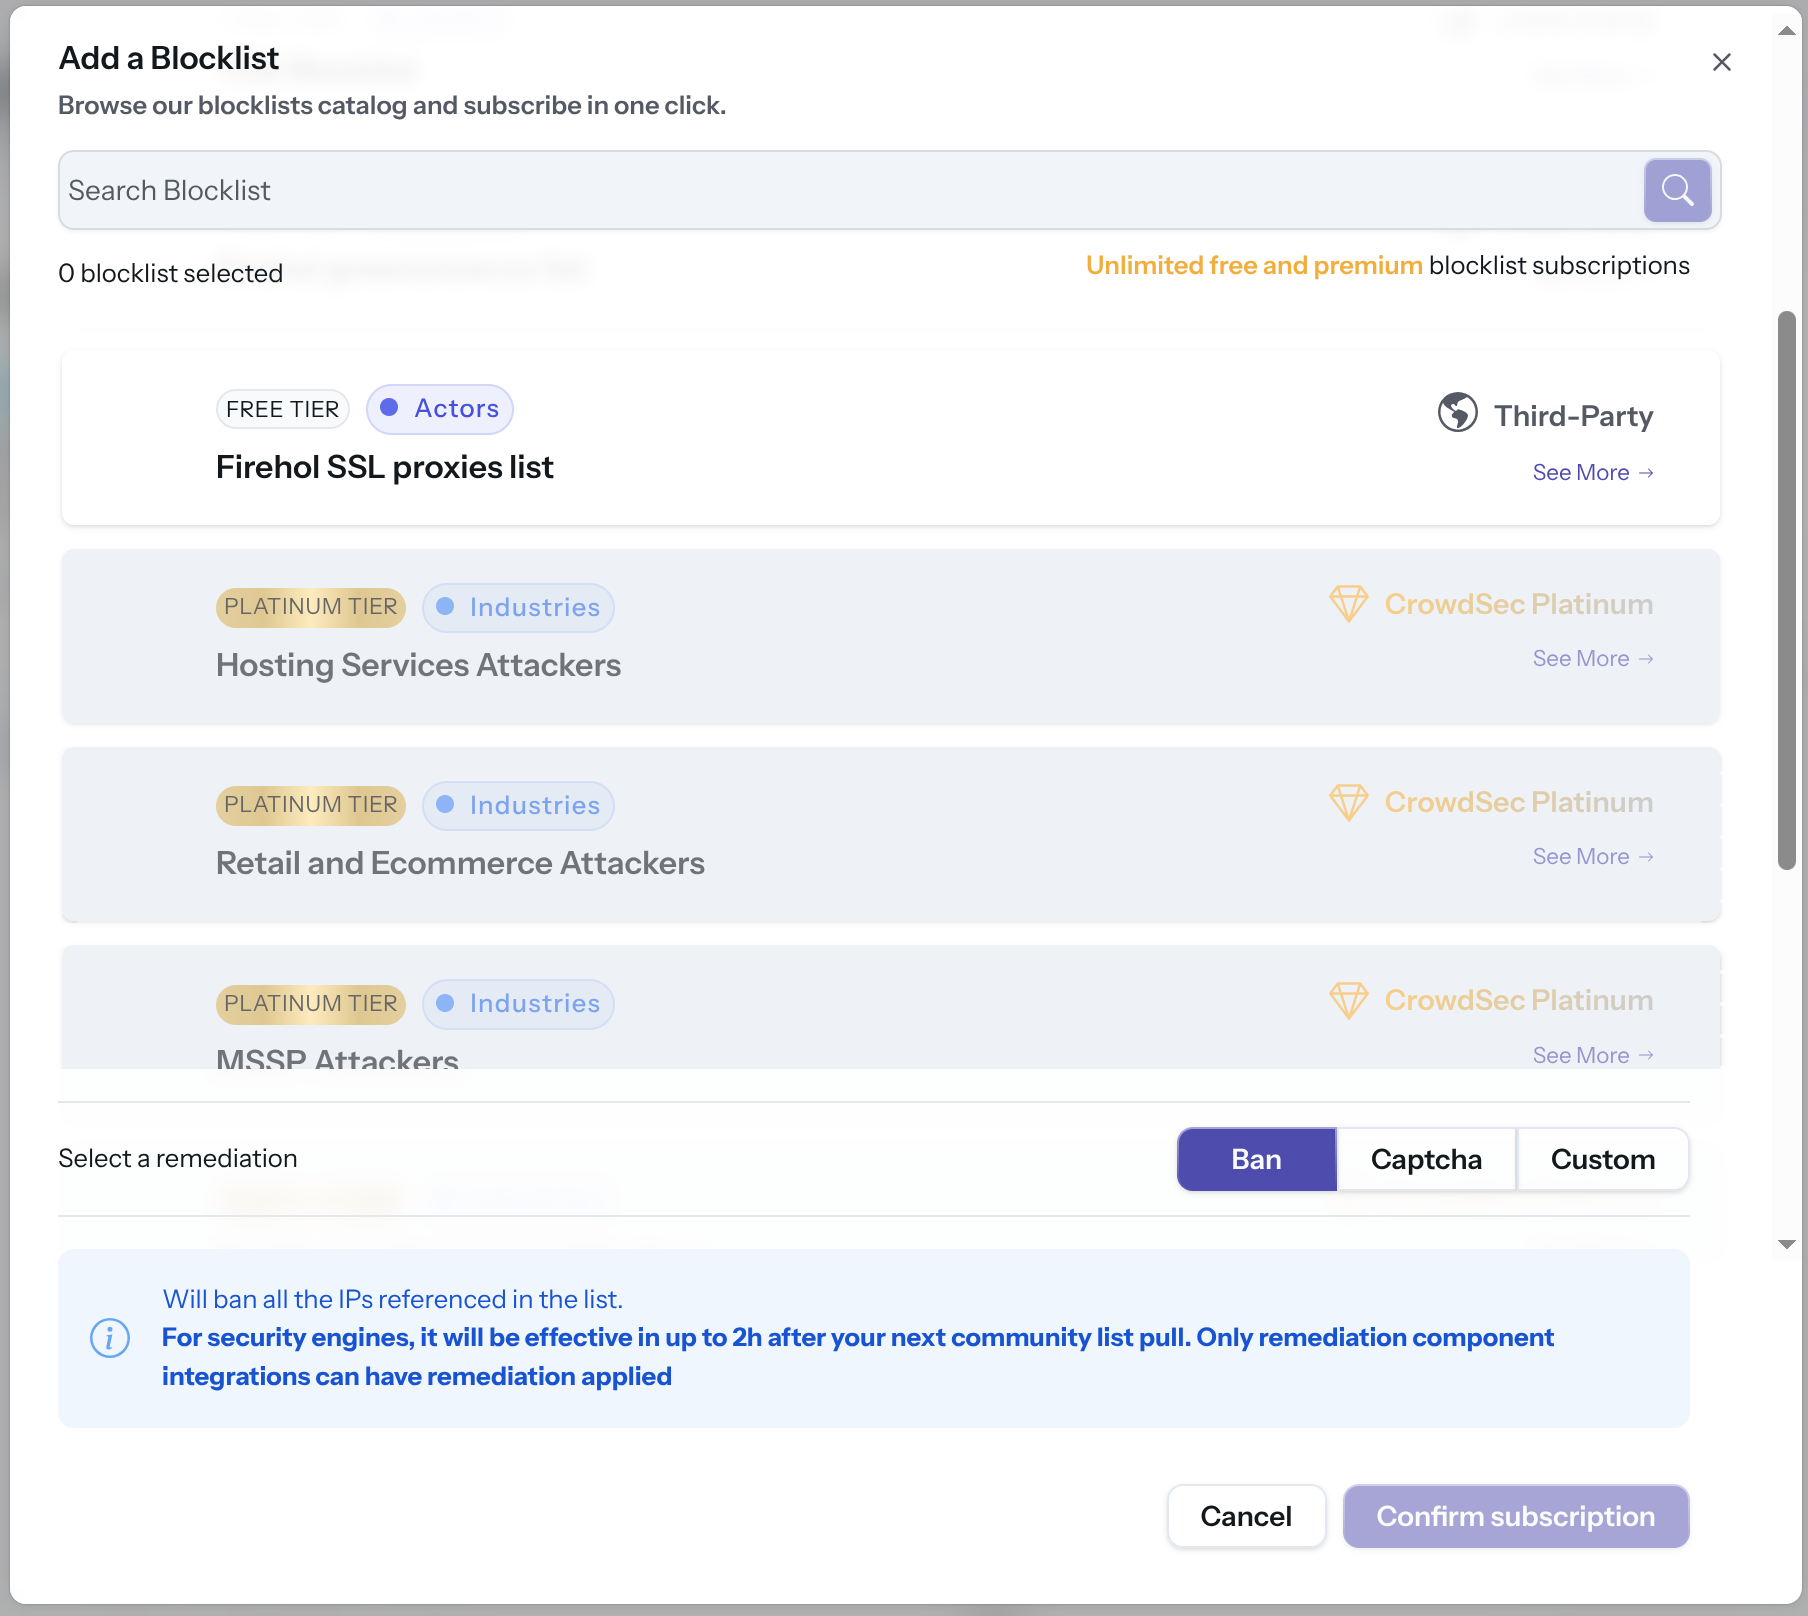
Step 4 — Subscribe to Blocklists
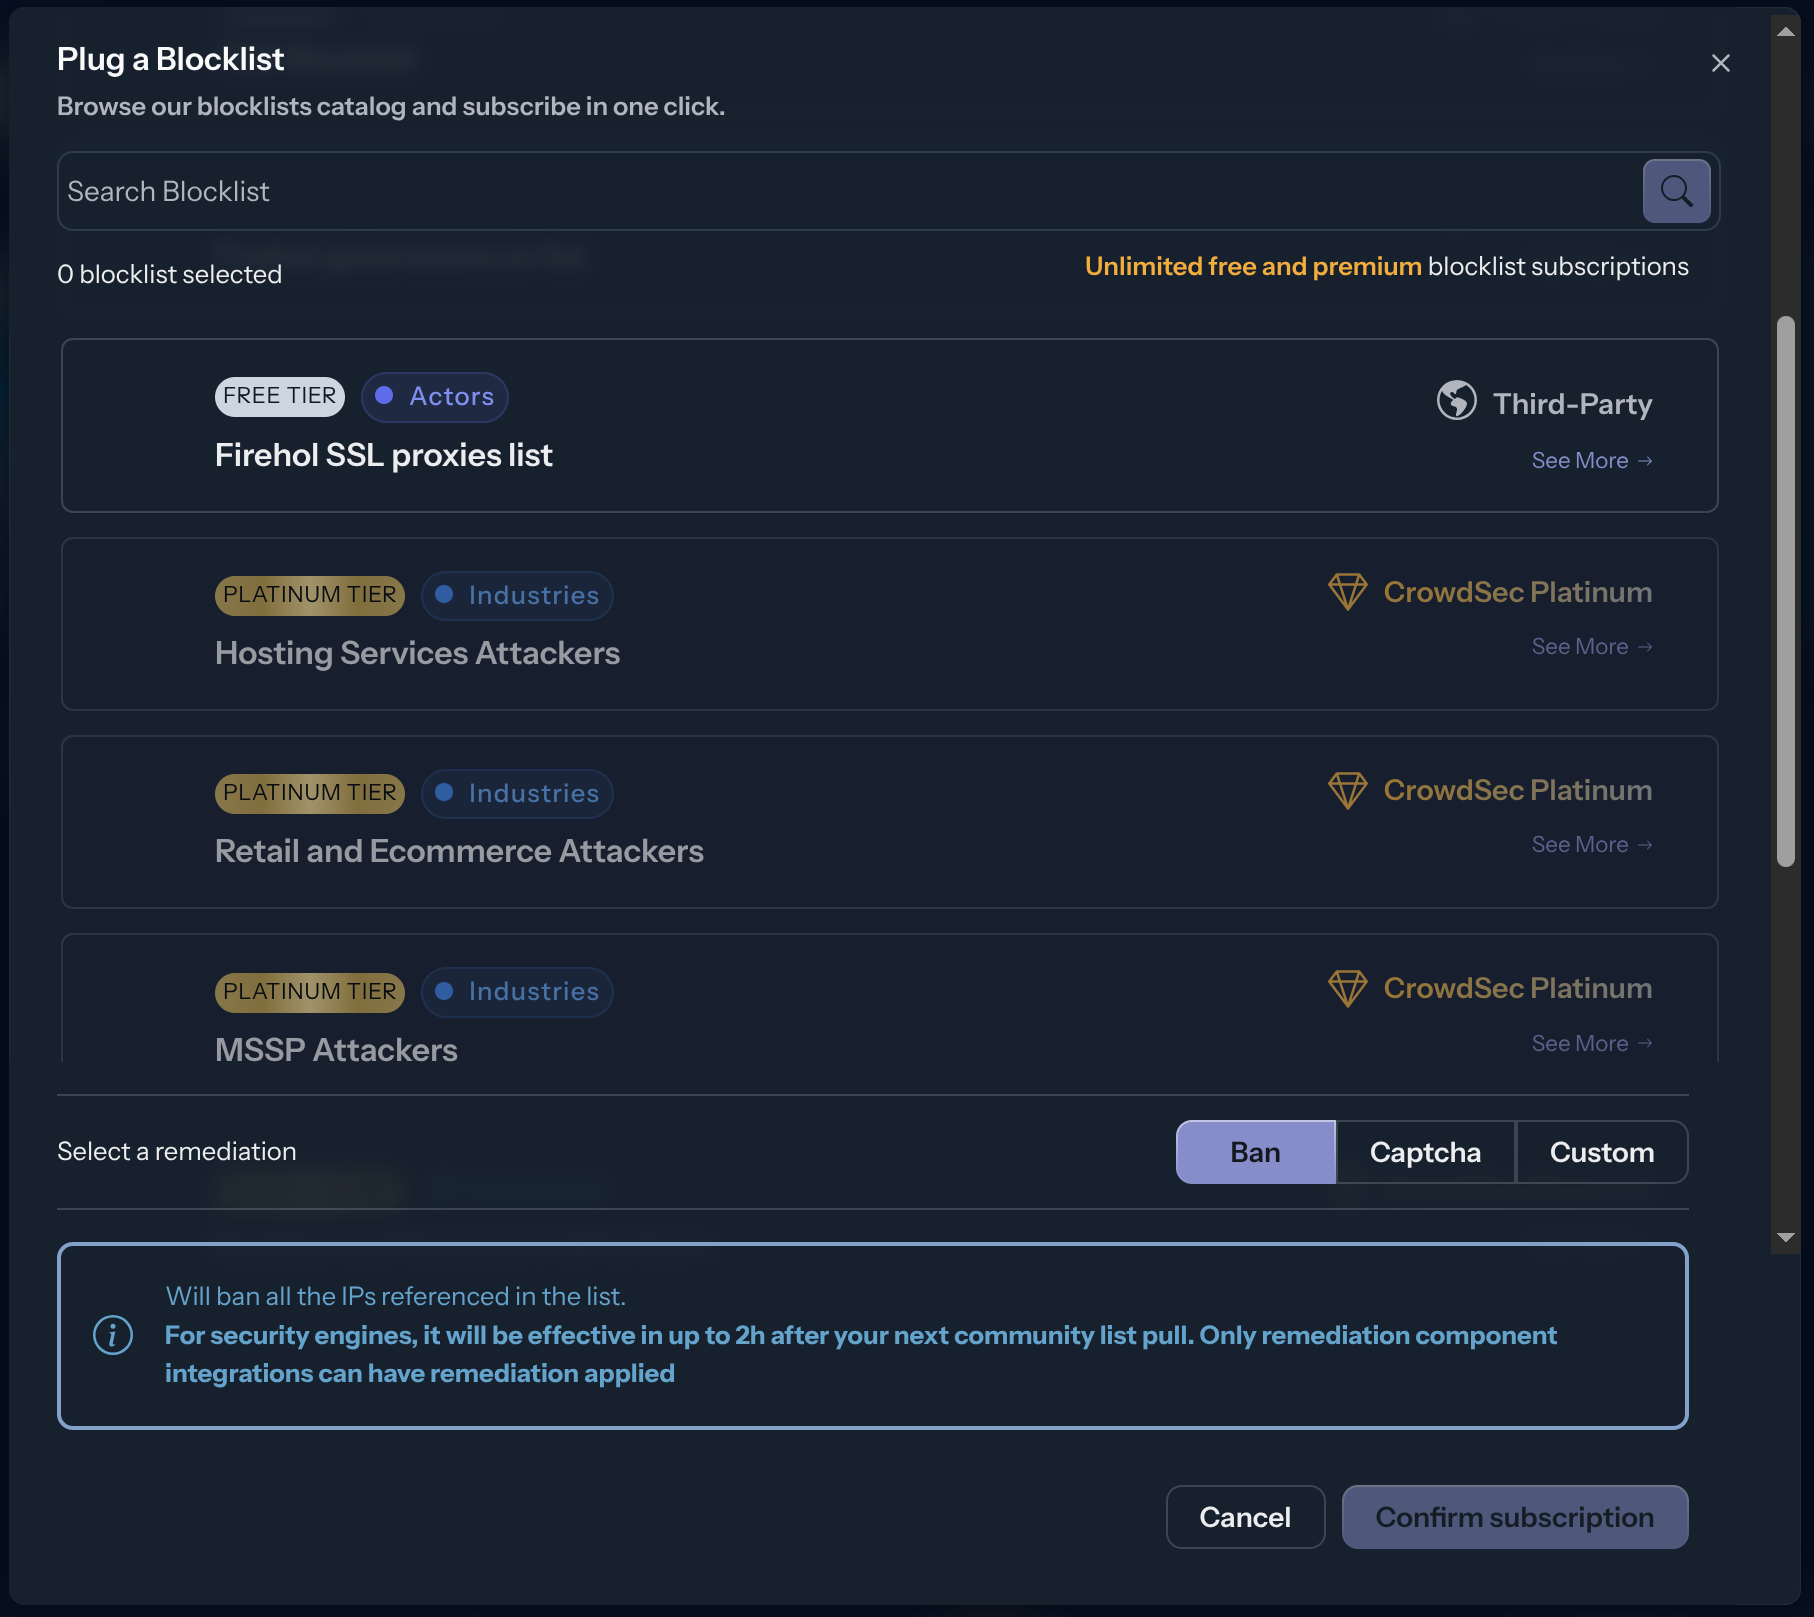
The integration endpoint will serve the deduplicated blocklists it's subscribed to. After creation, a subscription pop-up appears automatically. You can also access it later via the Add Blocklist button.
Select one or more blocklists available for your plan, then click Confirm Subscription. The blocklist name(s) will appear in the integration tile once subscribed.
Configure Mikrotik
Create the fetch script
Create a new script in your Mikrotik device:
Add the following script content, replacing <integration_id>, <username>, and <password> with the values from the Console:
:local name "[crowdsec]"
:local url "https://admin.api.crowdsec.net/v1/integrations/<integration_id>/content"
:local fileName "blocklist.rsc"
:log info "$name fetch blocklist from $url"
/tool fetch url="$url" mode=https dst-path=$fileName http-auth-scheme=basic user="<username>" password="<password>" idle-timeout="30s" http-header-field="Accept-Encoding:gzip"
:if ([:len [/file find name=$fileName]] > 0) do={
    :log info "removing old ipv4 blocklist"
     /ip/firewall/address-list/remove [ find where list="crowdsec-integration" ];
    :log info "removing old ipv6 blocklist"
     /ipv6/firewall/address-list/remove [ find where list="crowdsec-integration" ];
    :log info "$name import;start"
    /import file-name=$fileName
    :log info "$name import:done"
} else={
    :log error "$name failed to fetch the blocklist"
}
Click OK to save the script. You can run it immediately and check the logs to verify it is working.

Create the scheduler
To automate the fetch, create a scheduler that runs the script every 24 hours.

Format example
The CrowdSec blocklist is served in Mikrotik format, with one entry per line:
/ip firewall address-list add list=crowdsec-integration address=1.2.3.4 comment="crowdsec/mikrotik" timeout=48h;
/ip6 firewall address-list add list=crowdsec-integration address=2001:0db8:85a3::/128 comment="crowdsec/mikrotik" timeout=48h;
Manage integration size limits with pagination
If you want to learn how to manage integration size limits with pagination, please refer to the Managing integrations size limits with pagination section.
Next Steps
Subscribe to blocklists in the Blocklist Catalog to populate your integration.

